EF4 framework settings
EF4 Framework gives a wide range of settings that will help you to configure template fast and easy. Let's take a closer look at them.
The template parameters are located in the back-end of the template:
Extensions -> Template Manager -> [template_name]
Basic Settings
Logo and favicon
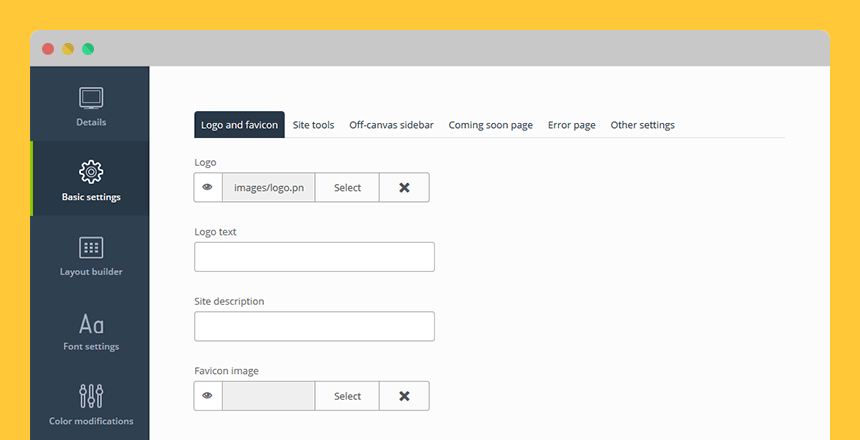
Logo – choose an image to upload as a logo for your site.
Leave empty or click on the cross button if you do not want to display a logo or you want to display a logo text only.
Logo text - enter a logo text as an alternative to a logo image.
Logo text will be displayed only when you have not chosen an image to display as a logo.
Site description – enter a site description.
It is usually displayed under logo or next to it.
Favicon image - choose an image to upload as a favicon for your site.
It is usually displayed in the browser's address bar, on the browser's tab or in a list of bookmarks. Recommended size for a favicon is 16x16 pixels.
Site tools
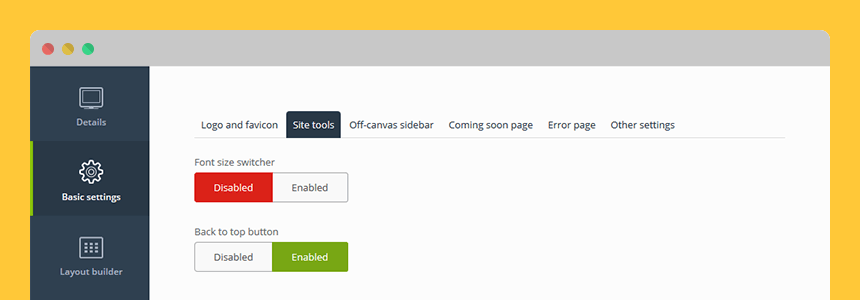
Font size switcher – enable or disable font size switcher.
It is usually displayed above the component area in the template. This tool allows to enlarge or reduce the font size of the component area.
Back to top button – enable or disable "back to top" button.
It is usually displayed in the bottom corner or in the footer area of the template. This button allows smoothing scroll to the top of the page.
Off-canvas sidebar

Off-canvas sidebar - choose if you want to display the off-canvas sidebar. Off-canvas is a sidebar with additional module position that can be displayed by clicking on a custom button.
Off-canvas width - enter the off-canvas sidebar width in pixels.
Off-canvas position - choose whether to display the off-canvas sidebar on the left or right side of your template.
How to display the off-canvas sidebar on a website?
To display the off-canvas sidebar on your website you need to follow these steps:
Step 1: Make sure that you have enabled the off-canvas feature in the template parameters as described above.
Step 2: Create a custom HTML module with the following code:
<a class="toggle-nav menu"><span class="icon-align-justify"></span></a>
Publish the module on one of the available module positions in your template. It contains a button that a user can click to show or hide the off-canvas sidebar.
Step 3: Publish a module on the "off-canvas" module position. It is a module position inside the off-canvas sidebar.
Coming soon page

Coming soon - choose if you want to display the coming soon page. It displays a countdown clock to count the time left to launch a website.
Coming soon date - choose a date when you plan to launch a website. The countdown clock will count the time left to that date.
Error page
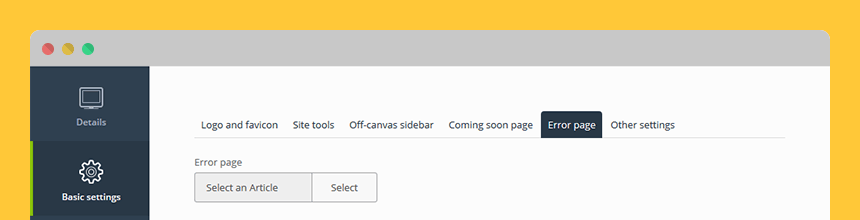
Error page - select an article that you wish to display as custom 404 error page. Otherwise, the standard error page will be used.
Other settings
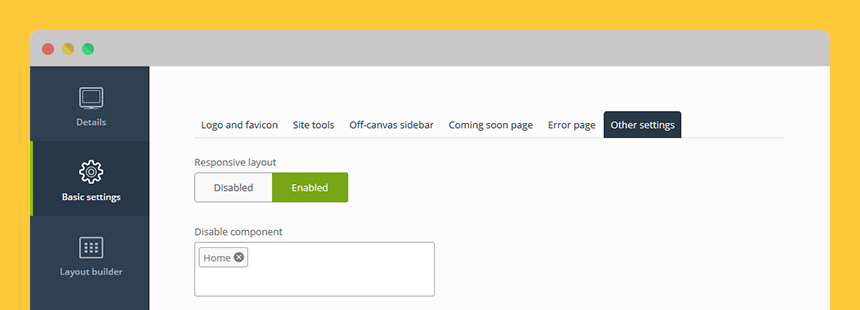
Responsive layout – enable or disable the responsive layout for tablets and mobile.
When disabled, your site will have the same width for all devices: desktops, tablets, and mobiles.
Disable component – select the pages on which you want to hide the component area.
This feature can be useful for you if you decide to publish only modules on one of your site's pages.
Font Settings
On the Font Settings tab, you are able to change the font size and font family of the following texts and headings:
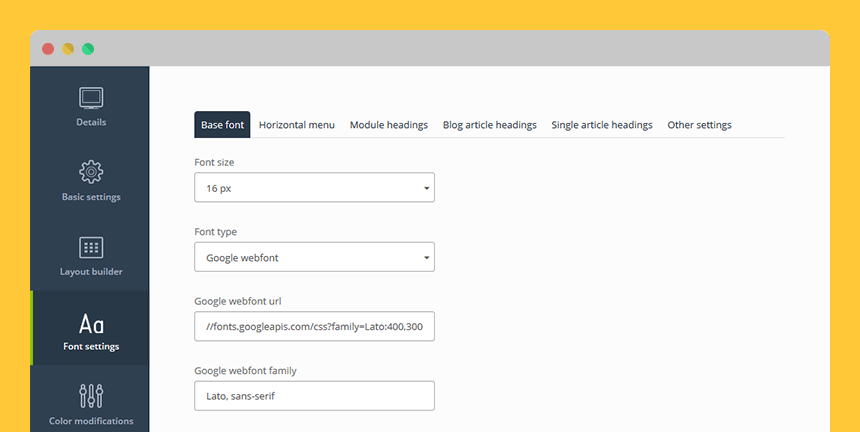
Base font – settings related to the whole template.
Base font is usually displayed for article and module content.
Horizontal menu – settings related to the horizontal menu.
It is usually published on the top of the template. In our commercial J3 templates we use DJ-MegaMenu and DJ-Menu for free ones.
Module headings – settings related to the module headings.
Blog article headings – settings related to the article headings on the blog page.
Single article headings – settings related to the article headings on the single article page.
Other settings:
Generate Web Font upload - here you can upload a Web Font. Find out more in the font types explanation below.
Font Awesome support - enable this option if you want to load Font Awesome into the template's head.
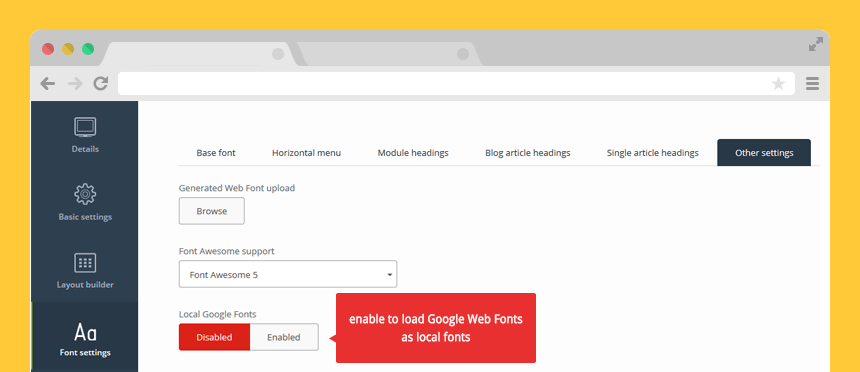
Local Google Fonts - enable this option to load Google Fonts locally from your server instead of Google server.
Font styles for specific selectors – settings related to the specified selectors.
In the Selectors field, you need to enter id's or classes for any template part to modify font settings. Remember to use a comma to separate selectors. For example: h1, #jm-top
There are 3 font types available to choose:
1. Font from the list
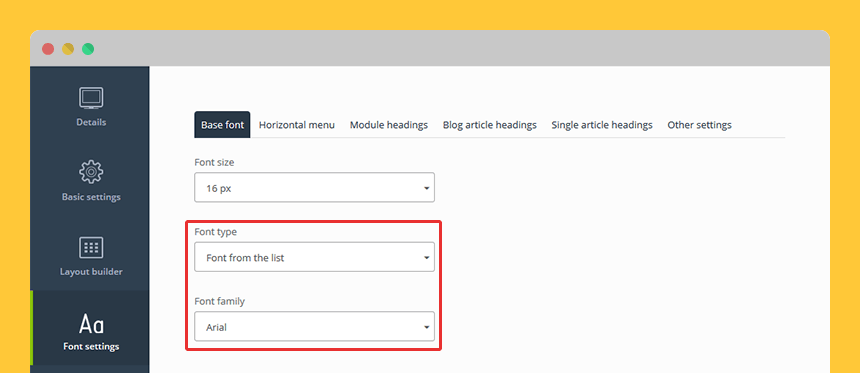
You can choose from the following web safe fonts:
- Arial - Arial, Helvetica, sans-serif
- Arial Bold - 'Arial Black', 'Arial Bold', Gadget, sans-serif
- Arial Narrow - 'Arial Narrow', Arial, sans-serif
- Tahoma - Tahoma, Geneva, Verdana, sans-serif
- Verdana - Verdana, Geneva, Tahoma, sans-serif
- Times New Roman - 'Times New Roman', Times, serif
- Georgia - Georgia, 'Times New Roman', Times, serif
- Courier New - 'Courier New', Courier, 'Andale Mono', monospace
- Trebuchet MS - 'Trebuchet MS', 'Lucida Sans', 'Lucida Grande', 'Lucida Sans Unicode', sans-serif
- Lucida Sans - 'Lucida Sans', 'Lucida Grande', 'Lucida Sans Unicode', 'Trebuchet MS', sans-serif
- Impact - Impact, Haettenschweiler, 'Arial Narrow Bold', Charcoal, sans-serif
- Palatino - Palatino, 'Palatino Linotype', 'URW Palladio L', Georgia, 'Times New Roman', Times, serif
- Century Gothic - 'Century Gothic', 'Apple Gotic', 'URW Gothic L', sans-serif
2. Google web font

All Google Fonts you can browse here: http://www.google.com/fonts
3. Generated web font
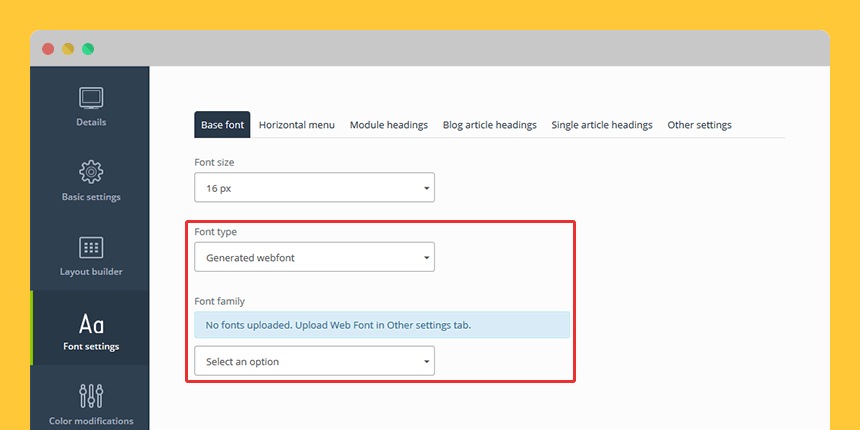
Uploading a generated web font:
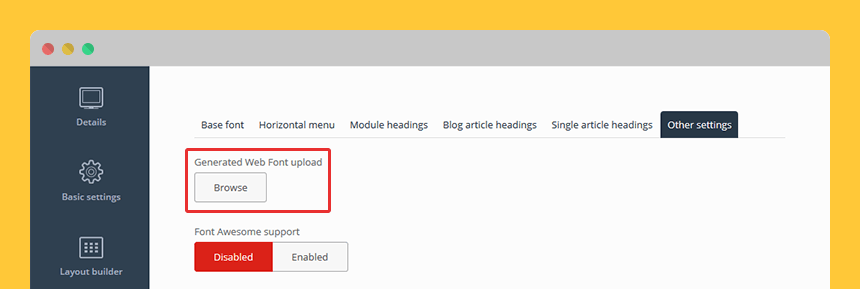
To upload a new font to your server in order to use it on your site:
Step 1: Click on Browse to select the font files from your disk.
Step 2: Click on Upload to upload the font files on your server.
NOTEUpload at least 3 font formats and make sure the font files are named exactly the same.
Accepted font file extensions: *.ttf, *.eot, *.woff, *.svg. Example: arial.ttf, arial.eot, arial.woff, arial.svg.
Load Google Web Fonts as local fonts
Once you configured your fonts to use Google Web Fonts, you may consider loading them locally instead of loading them from Google servers. This option may be interesting for you because it is 100% GDPR complaint. How does it work? After enabling the option our framework downloads the fonts and includes them into the template's head automatically:
Color Modifications

On the Color Modifications tab, you can change colors related to the template design such as backgrounds, border colors, font colors and more.
Which elements will be available to change their colors on this tab, it depends on the template design.
How to change a color?
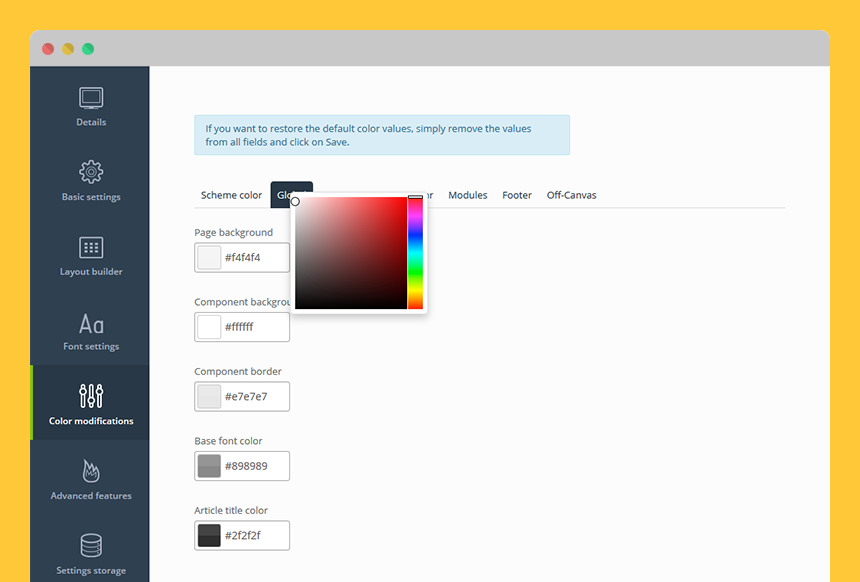
Step 1: Choose a color from the palette or enter a hex code of the desired color.
Step 2: Save settings.
INFOHow to add a new parameter to the Color Modifications tab?
NOTEIf you want to restore the default color values, simply remove the values from all fields and click on Save.
Advanced Features
Theme Customizer
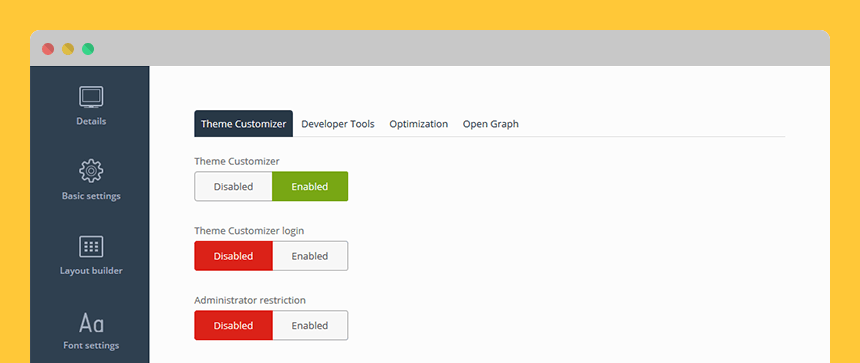
Theme Customizer – enable or disable the Theme Customizer panel on the front-end.
Theme Customizer login – enable or disable the Theme Customizer login form on the front-end.
If you log in to the Theme Customizer panel you will see additional buttons to save your settings.
Administrator restriction – when enabled only those users that are logged in and have administrator or manager permissions will be able to use Theme Customizer
INFOWe have a separate section dedicated to the Theme Customizer. Check it
Developer tools
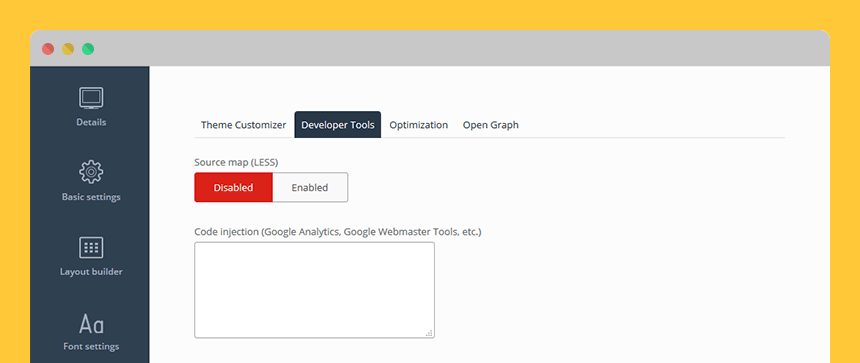
Source Map (LESS) – enable or disable a source map for every LESS file that has been compiled to CSS. This way you will be able to inspect the code using a web developer tools to find a file location and line number of LESS styles. Please note that a web inspector must support source maps.
Code injection - add custom code into the head section if needed.
Here you can paste Google Analytics script, Google Webmaster meta tag or any other custom code which needs to be pasted into the head section of the template.
Optimization
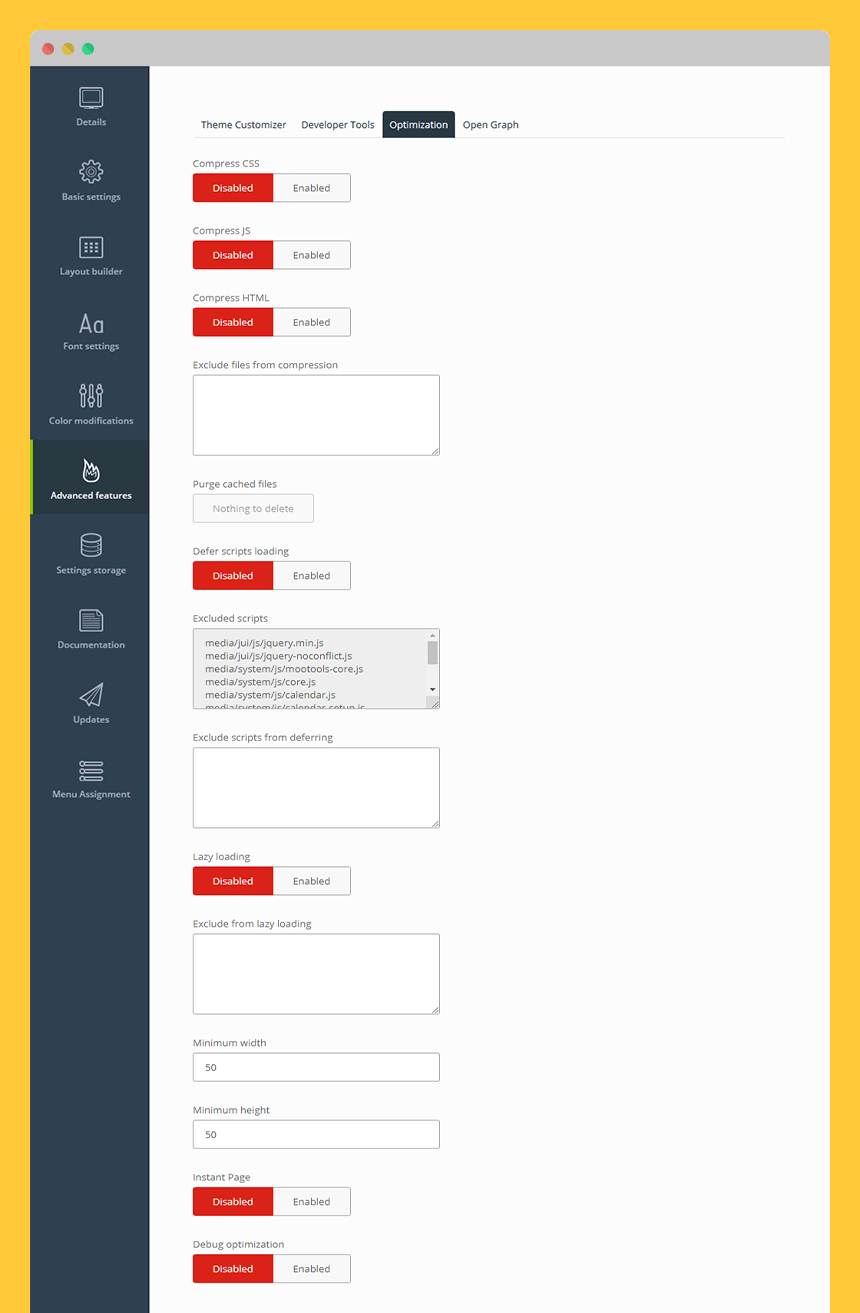
Compress CSS/Compress JS – enable or disable CSS/JS compressor. It will help you to optimize the load speed of your site.
How do the compressors work?
- files are merged into one file
- comments, tabs, spaces, new lines and other unuseful signs are removed
- response time is reduced
Compress HTML - enable or disable HTML compressor. The compressor removes comments, spaces and line breaks from the HTML code output.
Exclude files from compression - add CSS or JS files (file name or whole path) to be skipped during the compression. Each file should be added to a new line.
Purge cached files - use this button to delete merged JS and CSS files from the template cache folder.
Defer scripts loading - enable or disable defer loading of all scripts.
This option can improve your page speed loading, but turning it on may also cause javascript errors. You can exclude individual scripts which are causing bugs by listing them in the "Exclude scripts" field. jQuery and Mootools libraries are excluded from deferring loading by default.
Excluded scripts - list of scripts that are excluded from deferring loading by default, because of script dependencies.
Exclude scripts from deferring - add scripts (file name or part of the path) to be excluded from deferring loading. Each file should be added to a new line.
Lazy loading - enable lazy loading of images and iframes on your website. This feature can reduce your page loading time and save a lot of unnecessary data transfer.
Exclude from lazy loading - you need to be aware that lazy loading can conflicts with 3rd party extensions or other lazy loading scripts, so you can exclude specific images and iframes on the list below from lazy loading. Use part of image path, iframe URL, CSS class or any IMG attribute to exclude the images which contain it. Put each of them on a new line.
Minimum width - set the minimum image width for lazy loading. Images with lower width will be excluded from lazy loading.
Minimum height - set the minimum image height for lazy loading. Images with lower height will be excluded from lazy loading.
Instant Page - enable preloading data before user clicks any link on your website.
Debug optimization - enable this option to display information on how the optimization process manipulates the scripts and styles. This option should be disabled on a live website.
Open Graph
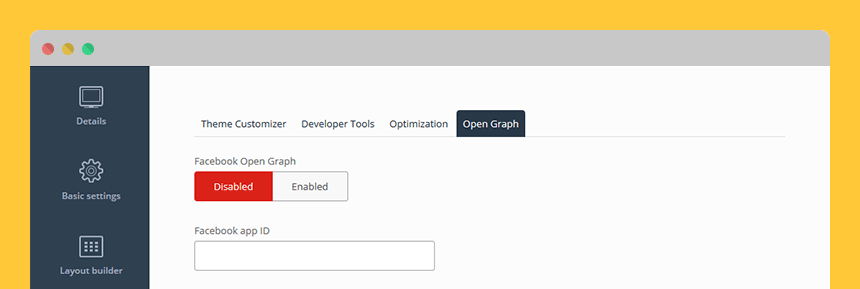
Facebook Open Graph - enable the Facebook Open Graph protocol. It includes META tags that help your website to become a rich object for social graphs. This feature is related to Joomla content component.
Facebook APP ID - it is optional. The unique ID that lets Facebook know the identity of your site. This is crucial for Facebook Insights to work properly. Please see Facebook's documentation to learn more.
Settings Storage
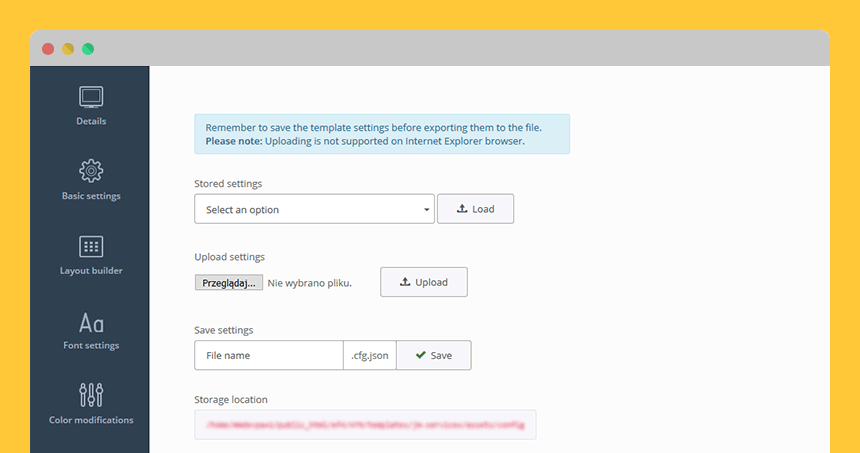
Stored settings - a list of previously saved settings files.
Choose the file and click the Load button to load settings or download them as a file using the Download Settings button.
Upload settings - choose a file with stored settings and upload it.
The file will appear on the list of Stored settings option.
NOTEIE browser does not support uploading.
Save settings - save the template settings as a file.
The file will appear on the list of Stored settings option.
NOTEYou have to save the template settings first in order to save them as a file.
Storage location – location of the stored settings files on your server.
Updates
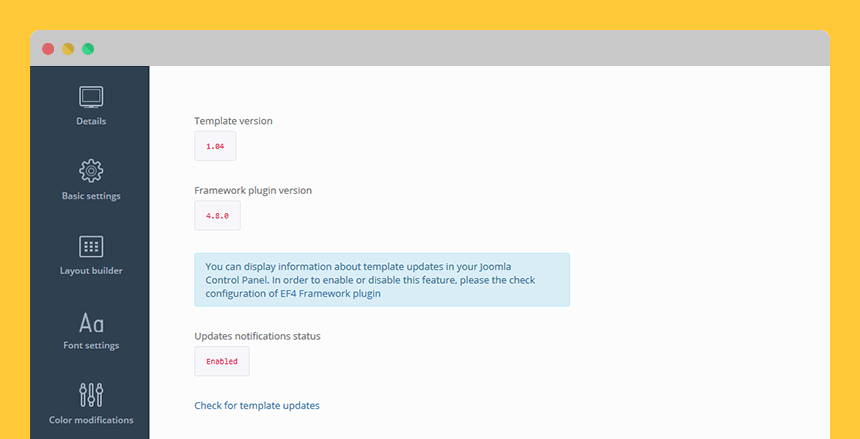
On the Updates tab, you can check the installed template and EF4 Framework version.
How to update framework?
Automatically:
Once there is an update of the EF4 Framework available you should be notified in the control panel of your Joomla. You can also navigate to:
Extensions -> Updates
If you do not see any updates on the list, click "Purge" and then "Find Updates" from the top toolbar.
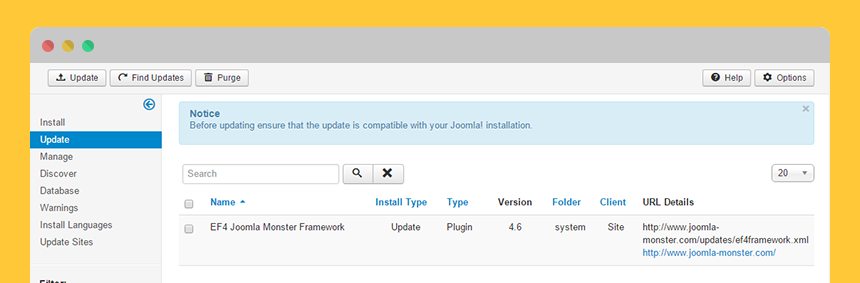
To update simply tick the EF4 Framework from the list and click on the "Update" button from the top toolbar.
Manually:
You can also update the EF4 Framework manually. To do that, simply download the framework zip package from your download area at Joomla-Monster.com and navigate to:
Extensions -> Manage -> Install
Browse the framework zip package and click on the "Upload & Install" button.

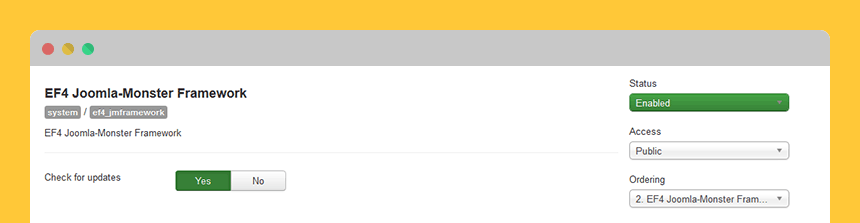
How to disable template update notifications?
Since EF 4.7 version there is a notification for Joomla-Monster.com template updates. If you are using a Joomla-Monster.com template and a new version will be available then you will get a standard update notification in the control panel of your Joomla.
You can disable this notification in the plugin parameters:
Extensions -> Plugins -> EF4 Joomla-Monster Framework