How to easily modify PSD slices?
A few years ago, the background effects such as gradients, rounded corners, shapes and shadows were able to do with images cut from PSD project only. We had to create a pyramid of code to achieve desired result in the template.
Nowadays, with the help of CSS3 styles, we can achieve the same result as well as optimize the template code and in a result simplify the work.
What are slices?
Each of our latest Joomla template is provided with PSD slices to make the template background images modification easier.
It means that every image that is used in the template is provided as layers in the PSD file.
After the image layer modification, it will be saved with the same dimensions and with the same file extension as the image that is used in the template.
Worth to mention is the fact that other elements such as banners and icons that we use on a demo site are also provided as PSD files.
How to modify slices?
First of all, you will need to install an application that runs PSD files, e.g. GIMP (free) or Adobe Photoshop.
We will use the Adobe Photoshop CS6 and PSD slices for our JM-School-Tools Joomla 3.x template in our example.
Let's suppose that you want to change the blue template color version to other color.
Many template elements were made using CSS3 styles, so you will have to make changes in the CSS files (Joomla 2.5) or in the LESS files (Joomla 3.x) as well.
We will focus on changing the color of some background images.
The images for the blue template color version are located in templates/jm-school-tools/images/style4 directory:

Let's open slices.psd file.
On the right side you will find groups and layers. Leave only the blue group visible as it contains all slices we will need for our example:
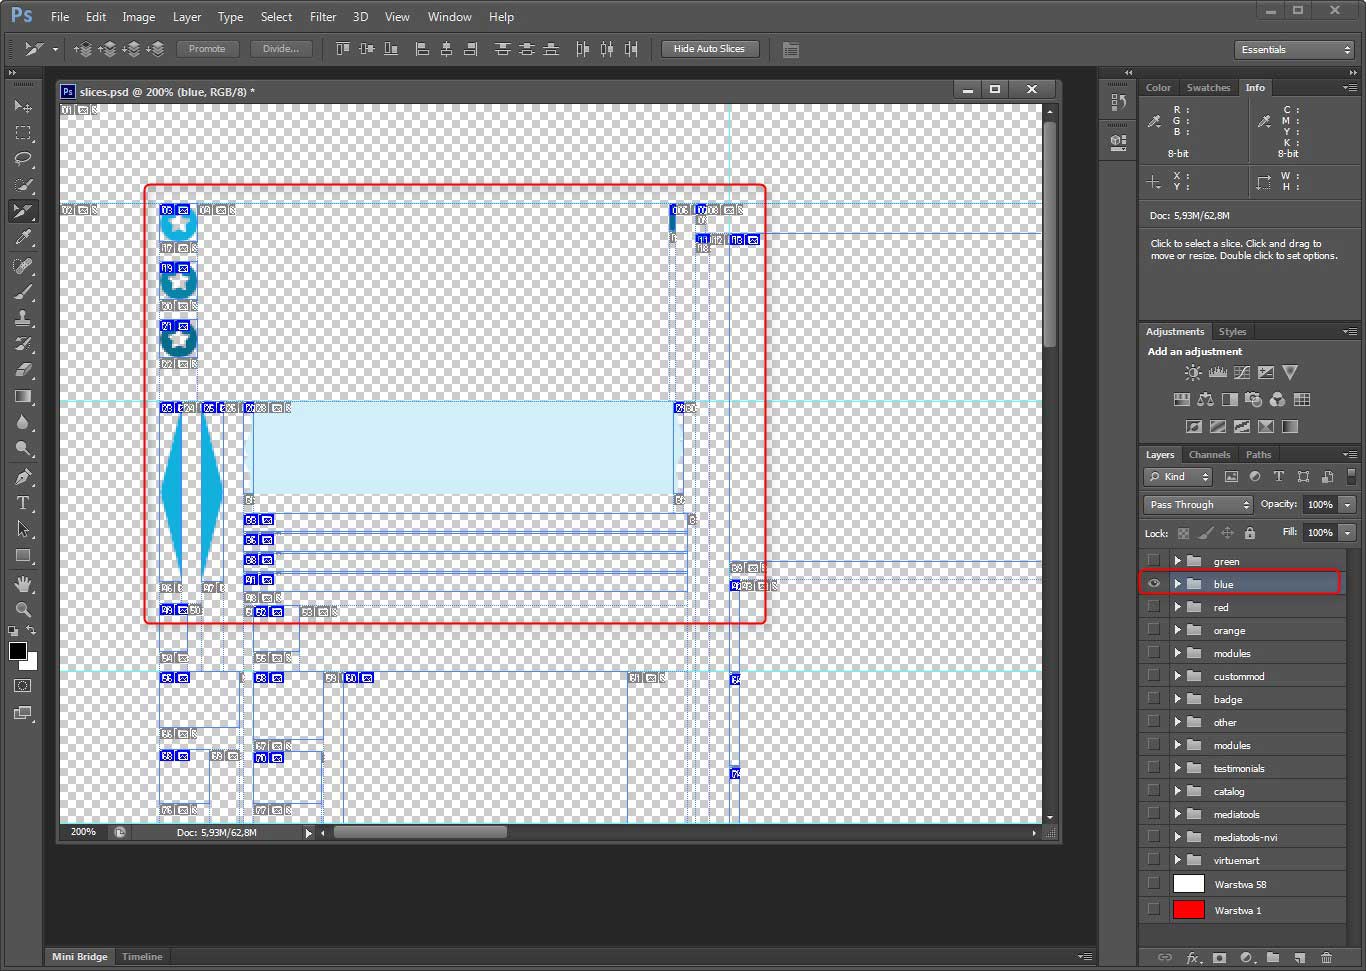
Now, click the right mouse button on the layer that you want to modify and you will see a dropdown menu.
Choose Blending options -> Color overlay
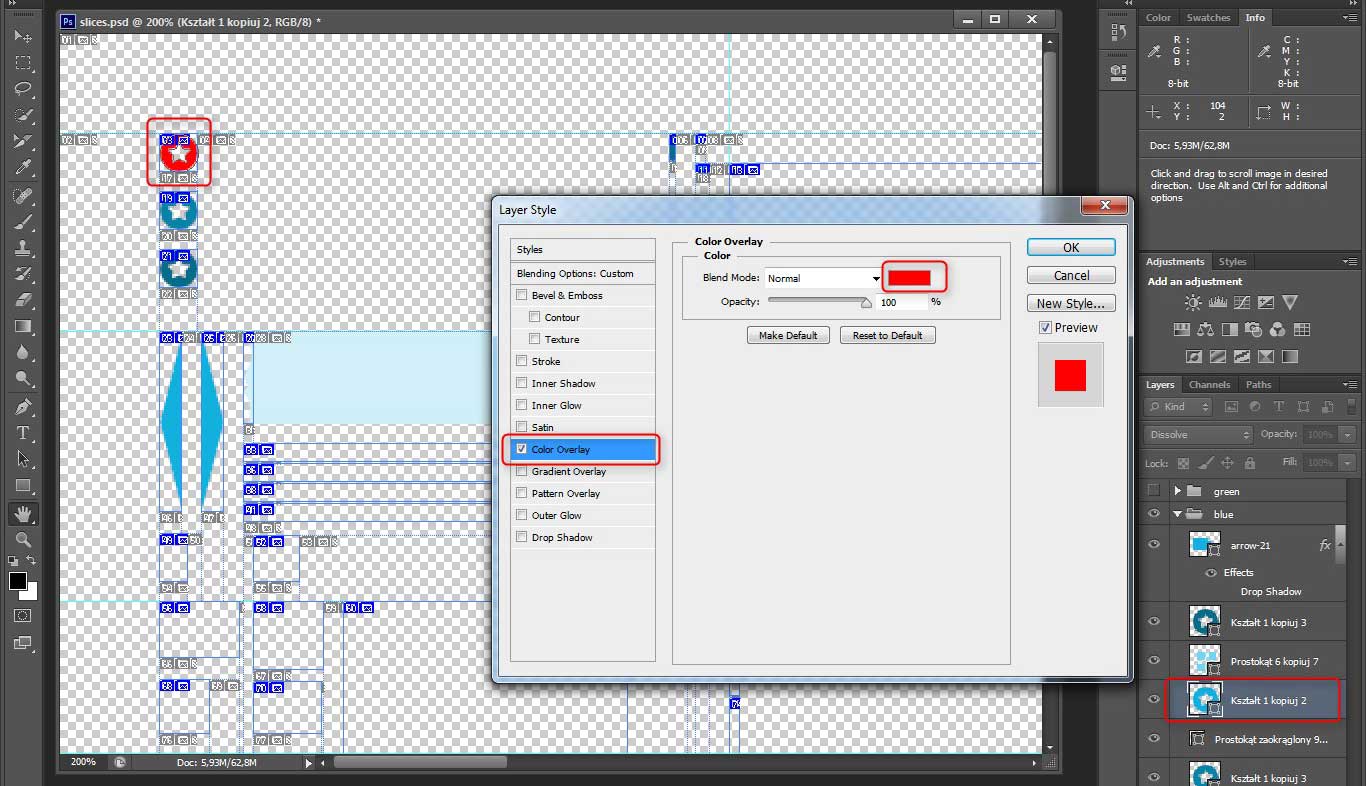
Click on the color field:
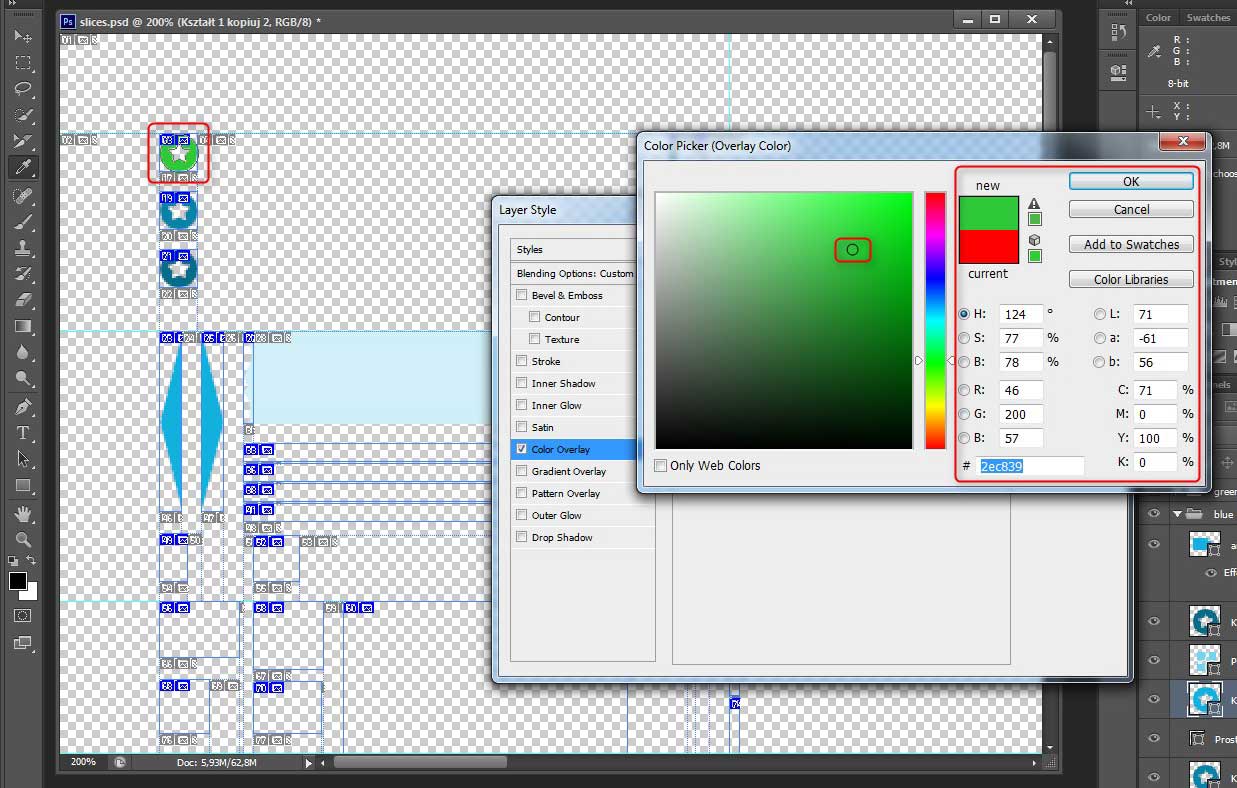
Choose the color you wish and click the "Ok" button.
Now you will notice that the selected layer has a different color:
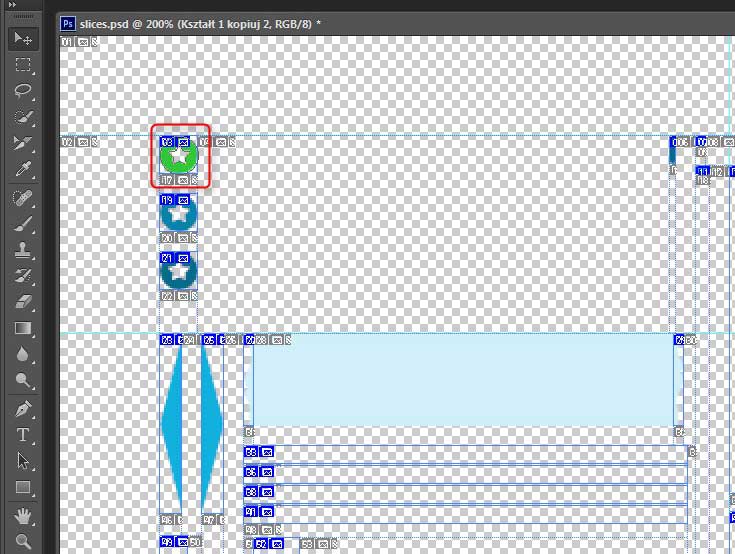
Now, repeat this for all the rest of layers that you need to modify.
After making all changes, you can save slices as images.
Go to File -> Save for Web... and you will see the following screen.
Choose the slice tool and select all slices that you want to save as images:
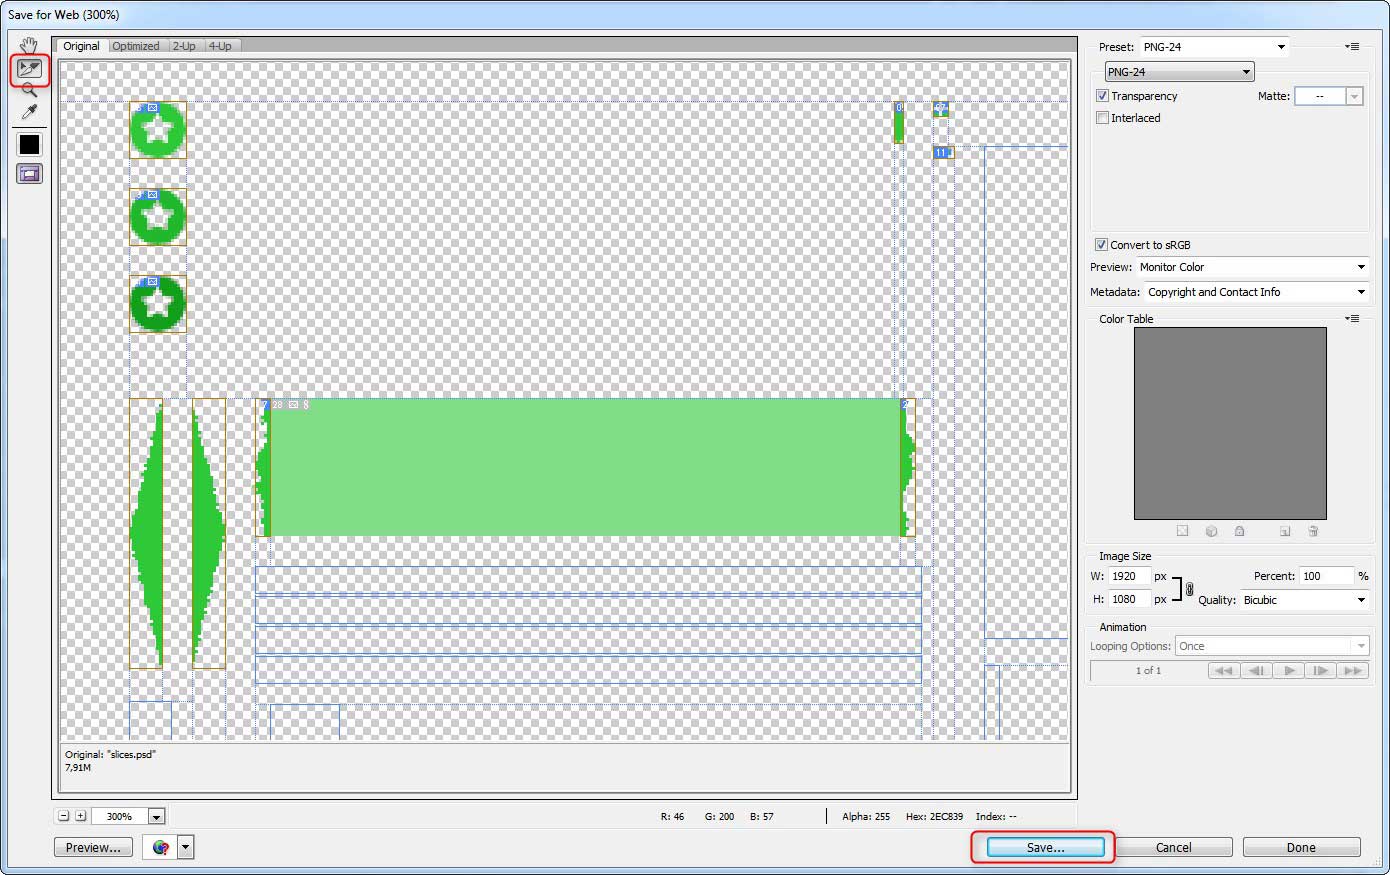
Click the "Save" button. Let's see our new images:

As you can see, the saved images have the same names as images in the template. All you need to do now is copying them into images/style4 directory and overwrite the existing images.
Congratulations! You have modified images of your template :)